Before vs. After
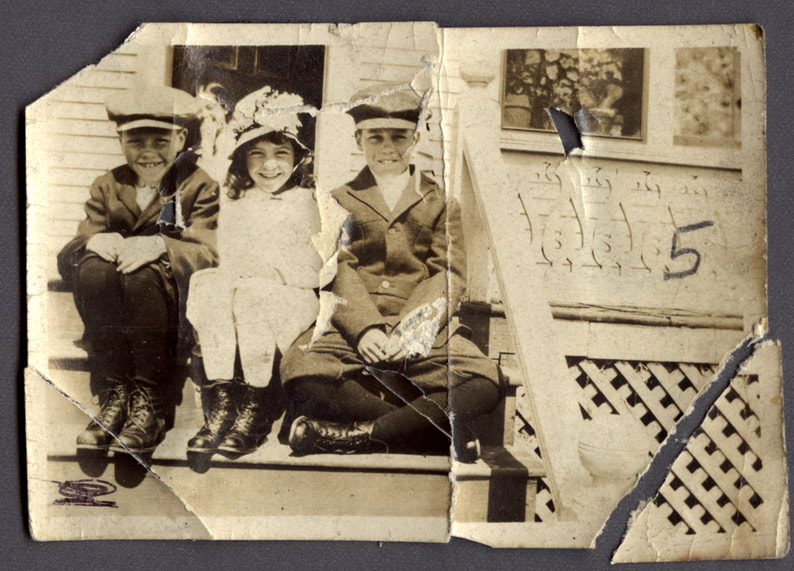
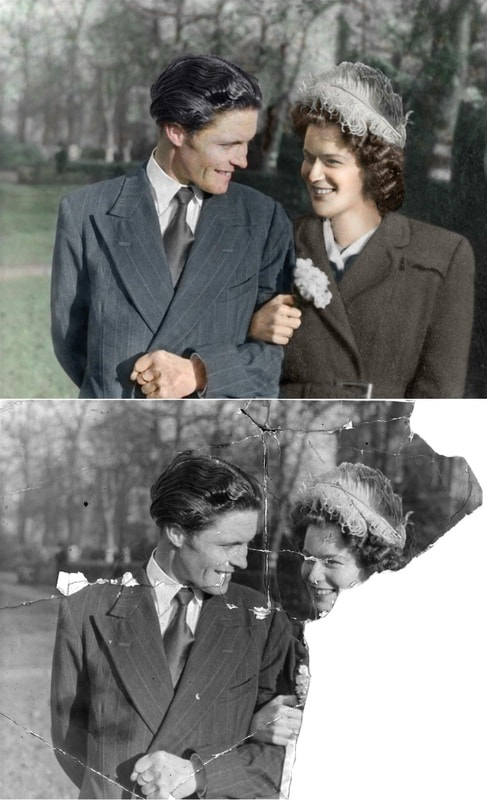
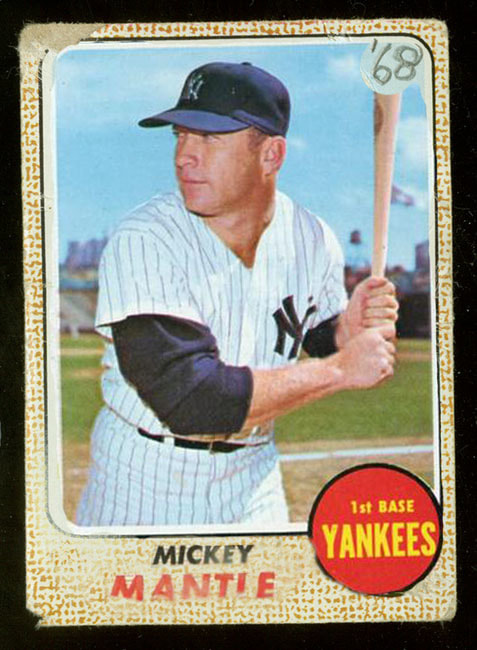
Before: Before I edited this photo using Adobe Photoshop it was broken down, and frayed
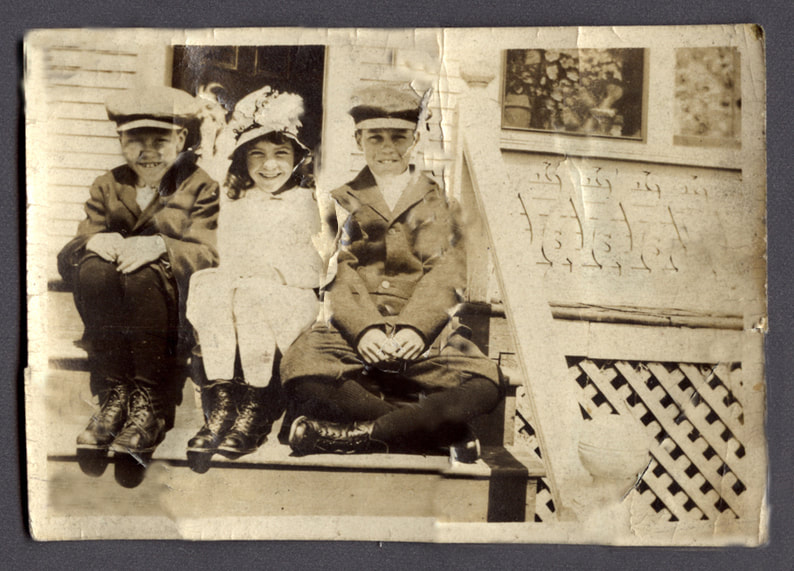
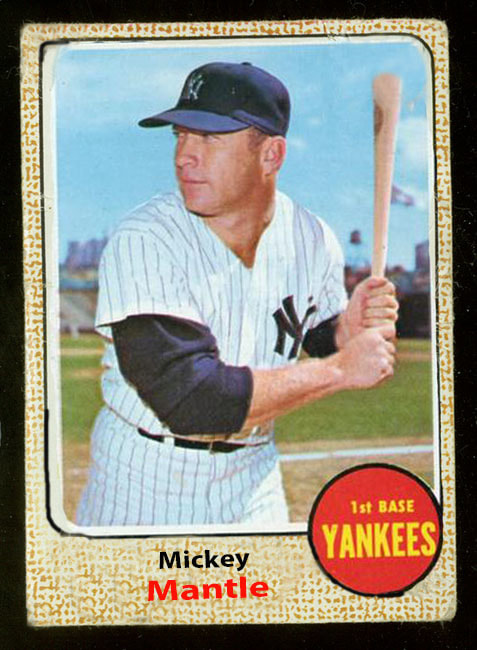
After: Using photoshop tools such as the Clone Stamp and the Magnetic Lasso I restored this photo and removed any tears.
After: Using photoshop tools such as the Clone Stamp and the Magnetic Lasso I restored this photo and removed any tears.
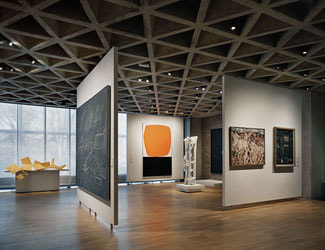
Before and After
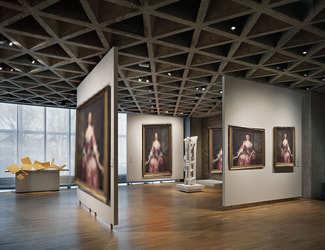
Using the distort tool I added this beautiful painting to all frames in the museum.
Using the distort tool I added this beautiful painting to all frames in the museum.

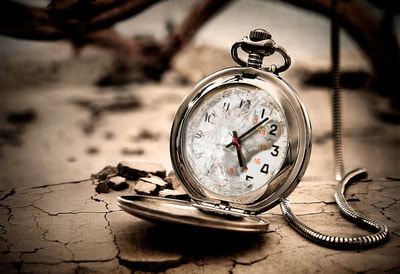
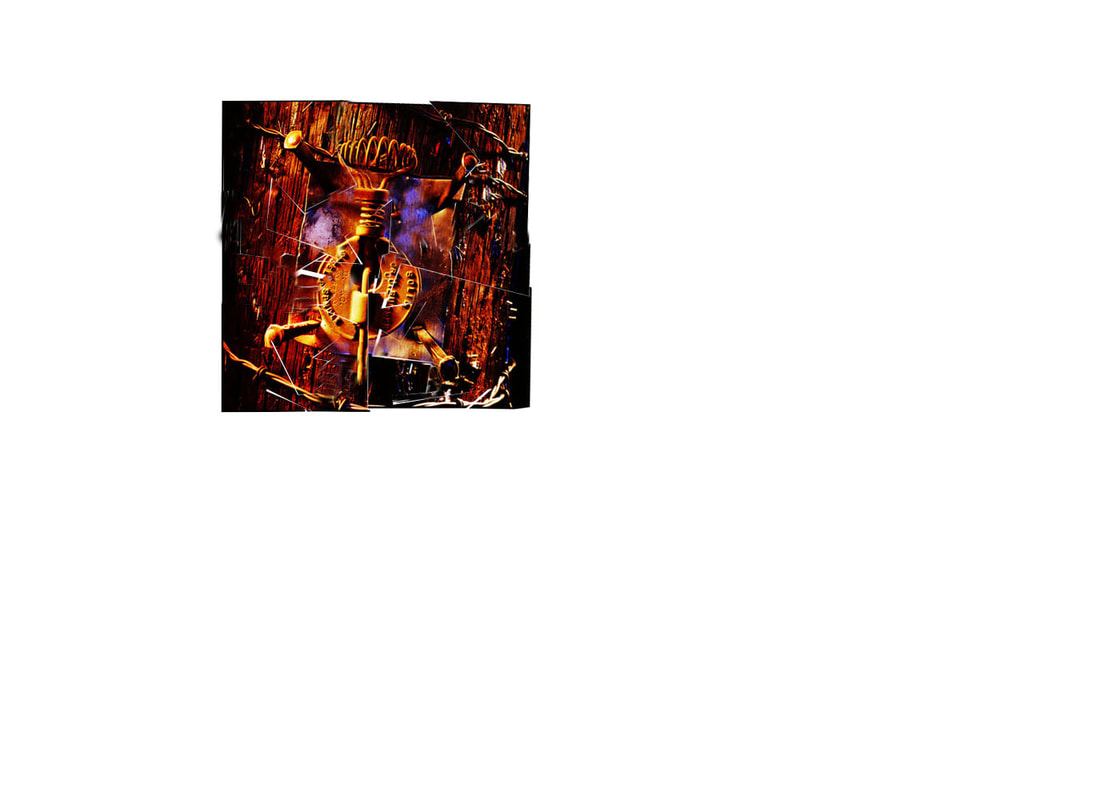
After vs Before
In this project the goal was to add this spicy watch interface to the boring watch you see on the "before" side.
In this project the goal was to add this spicy watch interface to the boring watch you see on the "before" side.
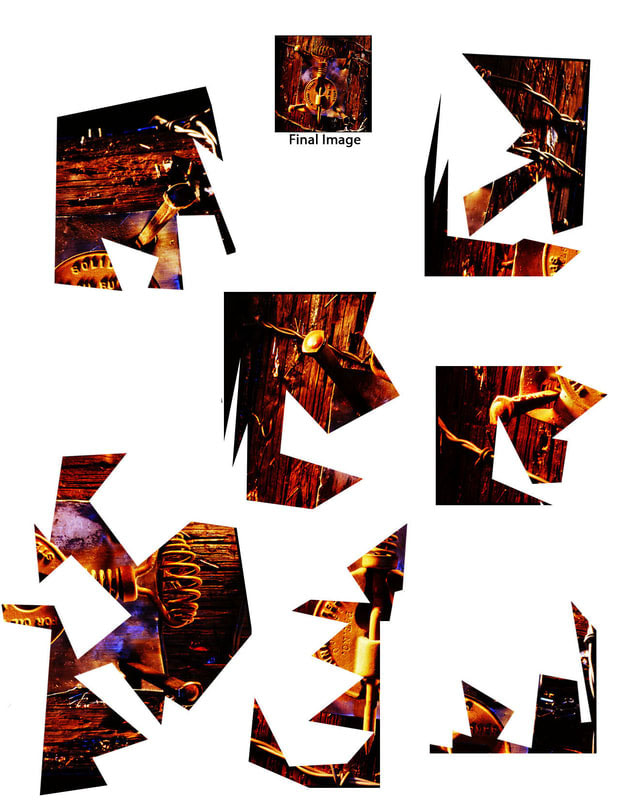
After vs Before
In this project we learned how to assemble a puzzle by cutting out shapes with the polygon lasso tool. What fun.
In this project we learned how to assemble a puzzle by cutting out shapes with the polygon lasso tool. What fun.
|
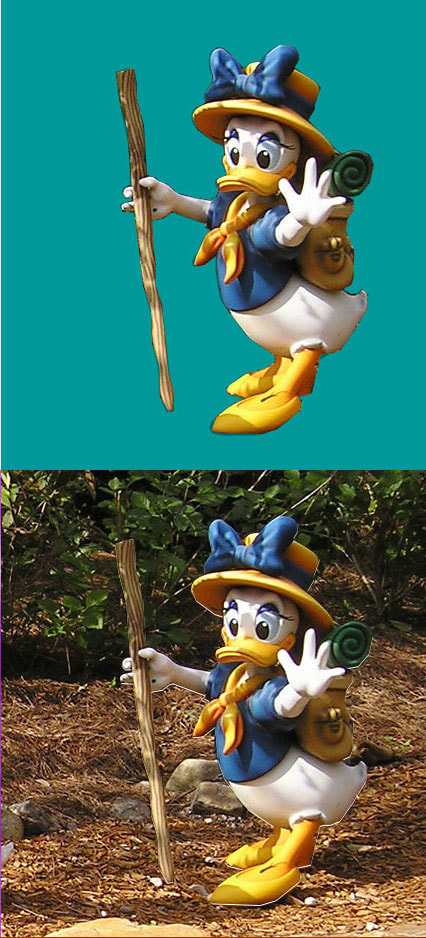
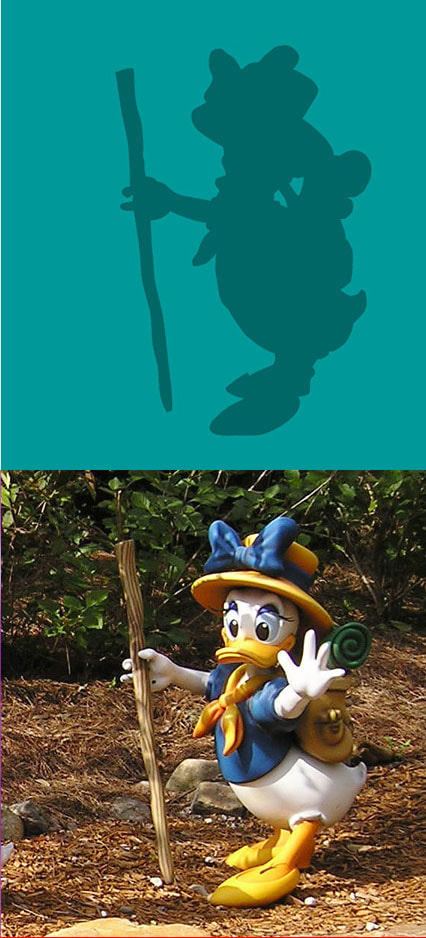
before vs after. In this Project we used the magnetic lasso to transport Daisy duck from one side of the image to the other.
|
|
|
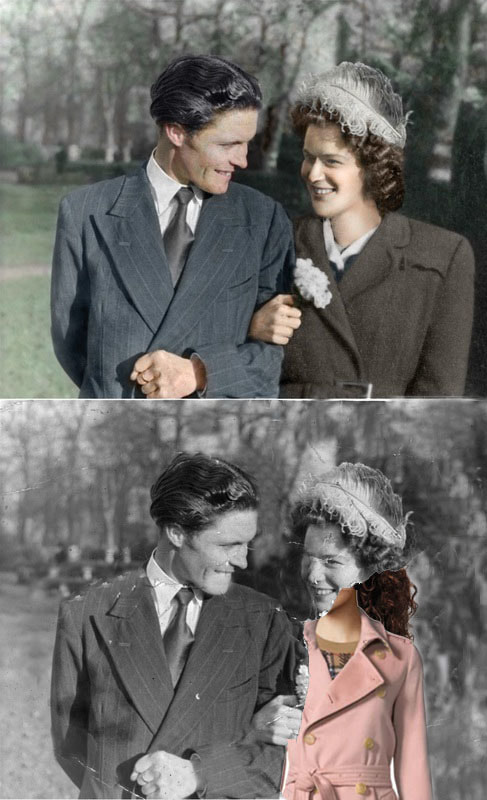
Before vs After. As you can see we were told to use all of our skills to make the image on the bottom resemble the image on top in this project.

|
|
Before vs After.
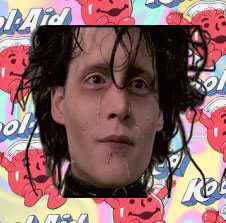
Here we used the quick mask tool to take sweet Edward Scissorhands from one image and transport him to the other.
Here we used the quick mask tool to take sweet Edward Scissorhands from one image and transport him to the other.
|
|
Before vs After
I used the text tool along with the paintbrush and clone stamp tool to touch up this vintage Mickey Mantle
I used the text tool along with the paintbrush and clone stamp tool to touch up this vintage Mickey Mantle
|
|
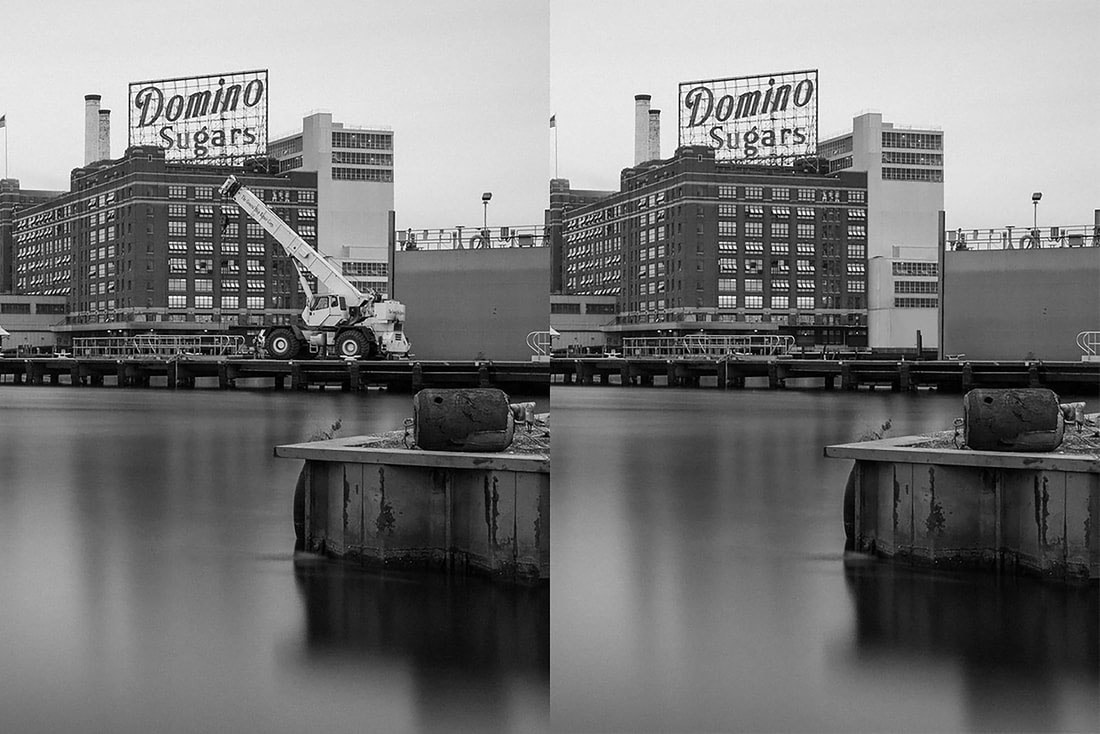
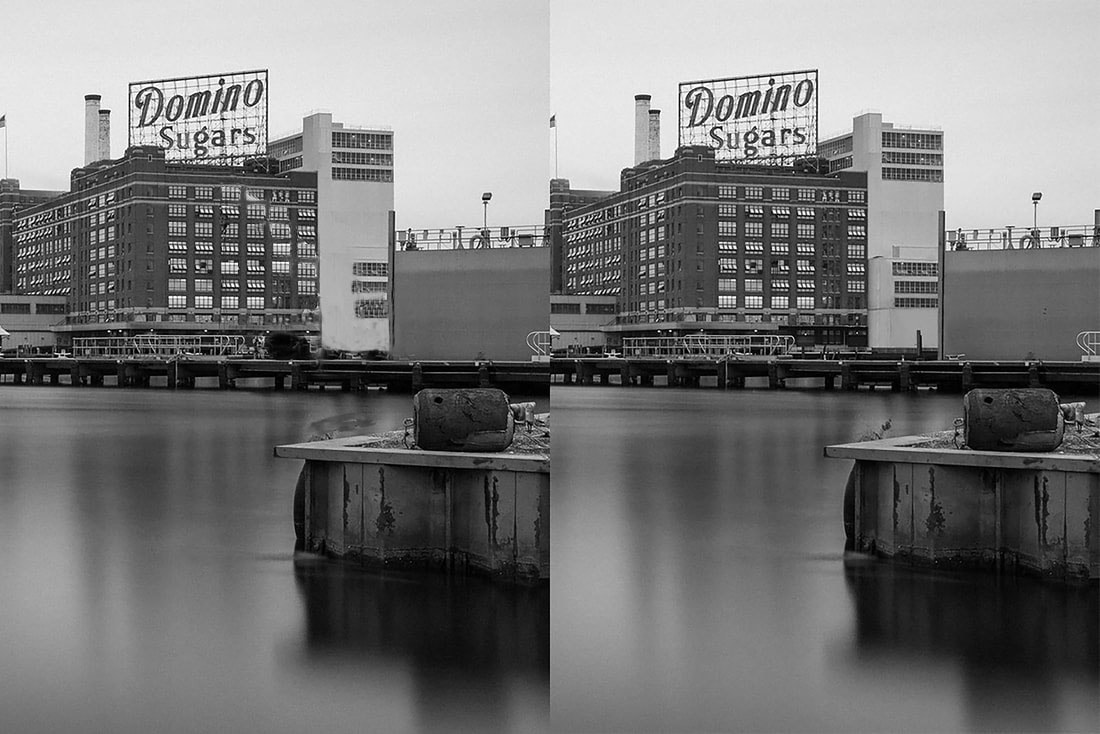
Before vs After
I succesfully removed this crane from the before image!
I succesfully removed this crane from the before image!
|
|
Before vs After
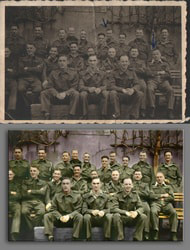
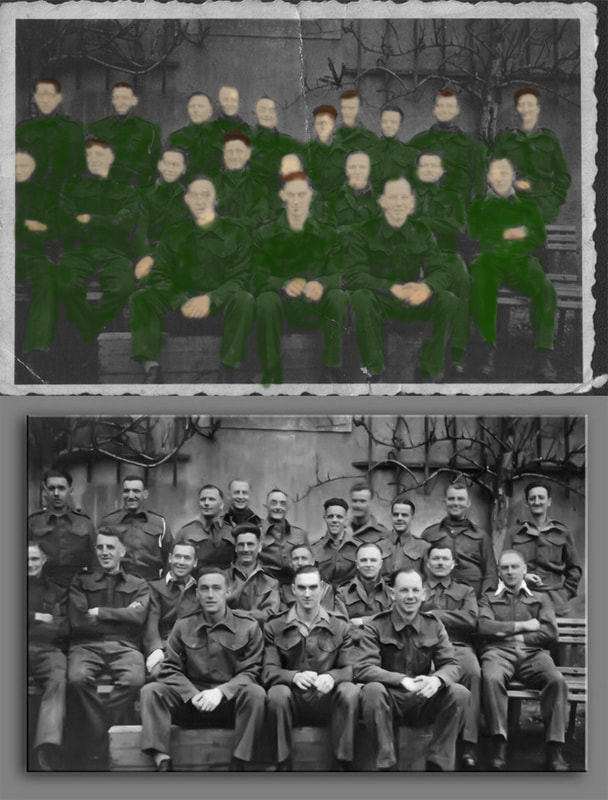
In this project I had to make the before picture black and white and then choose the colors myself.
In this project I had to make the before picture black and white and then choose the colors myself.
|
|
Before vs After
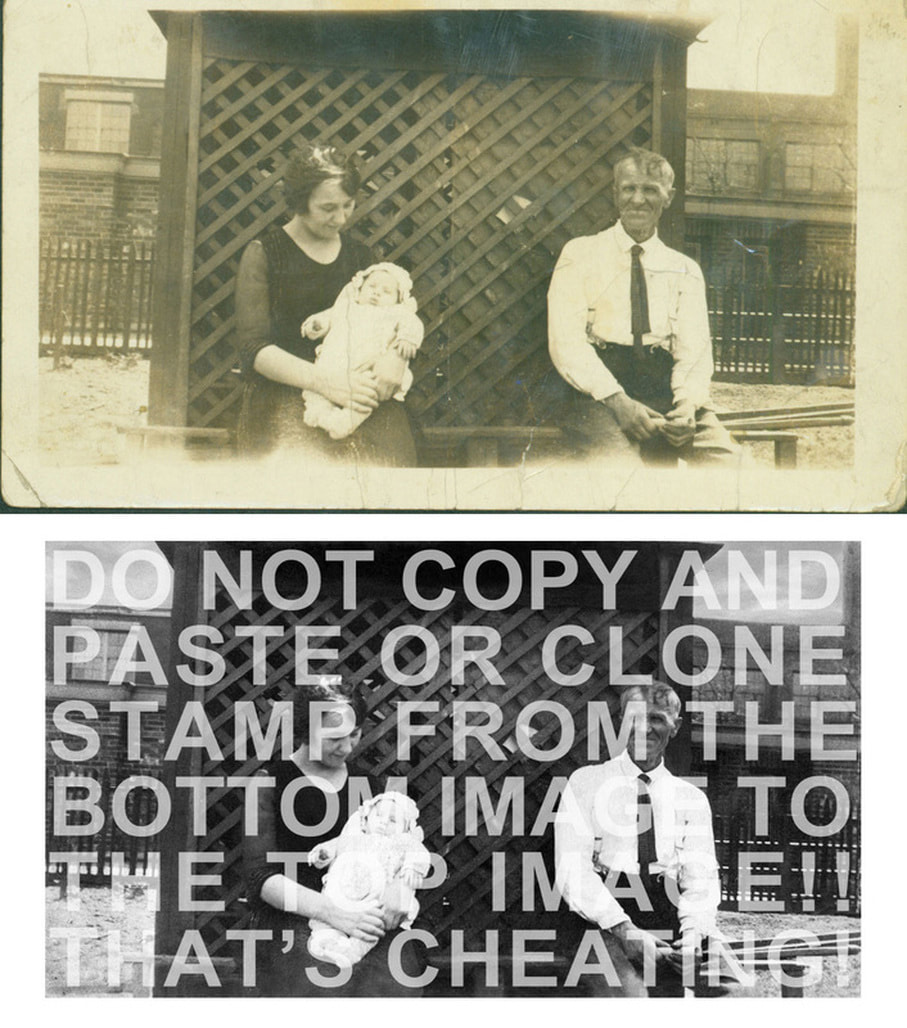
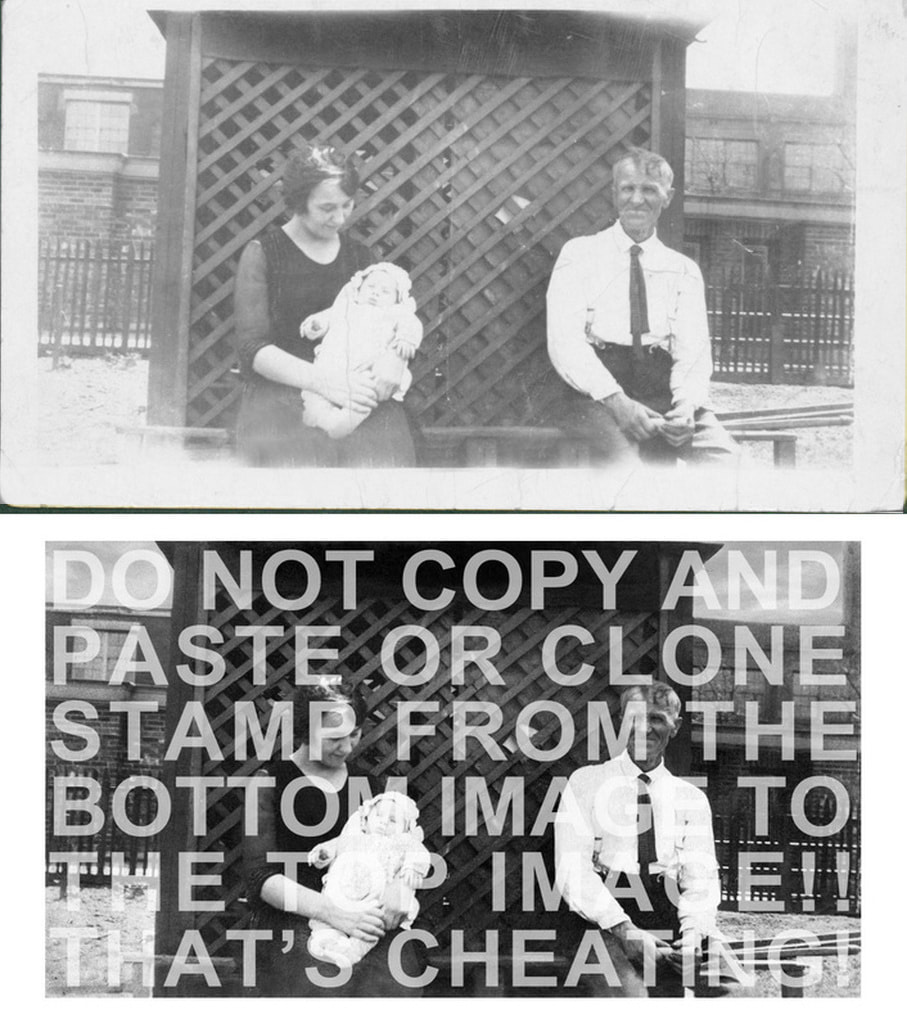
In this project I changed the sepia into black and white. I also touched up the bottom using the clone stamp.
In this project I changed the sepia into black and white. I also touched up the bottom using the clone stamp.
|
|
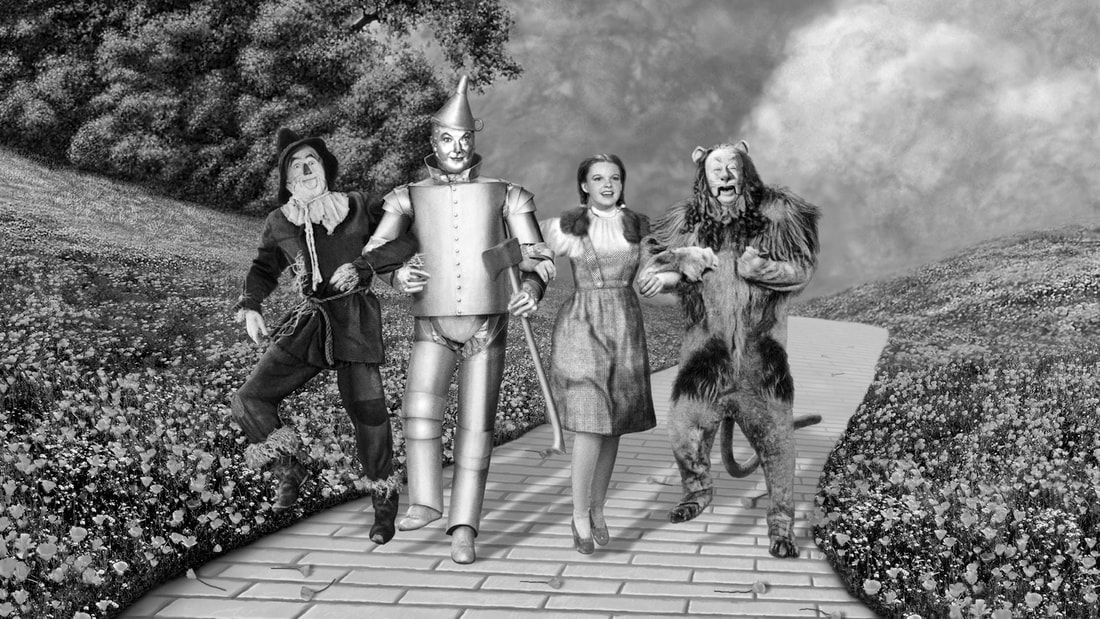
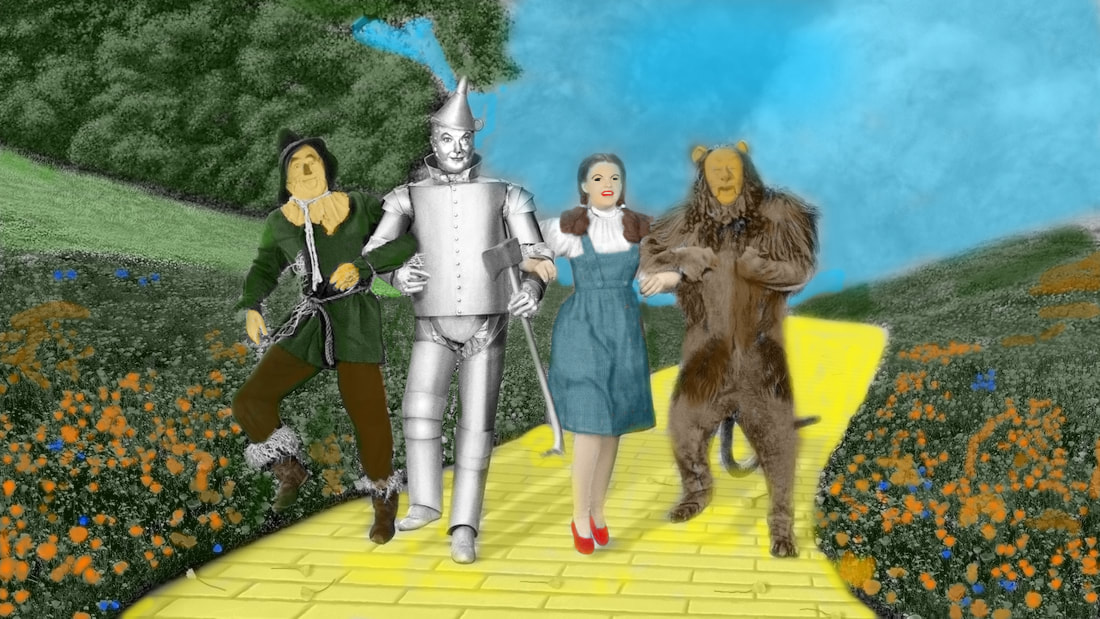
Before vs After
using the paintbrush tool on an overlay layer I breathed color into this iconic scene from the beloved movie, "The Wizard of Oz".
using the paintbrush tool on an overlay layer I breathed color into this iconic scene from the beloved movie, "The Wizard of Oz".
|
|
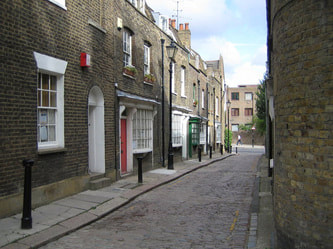
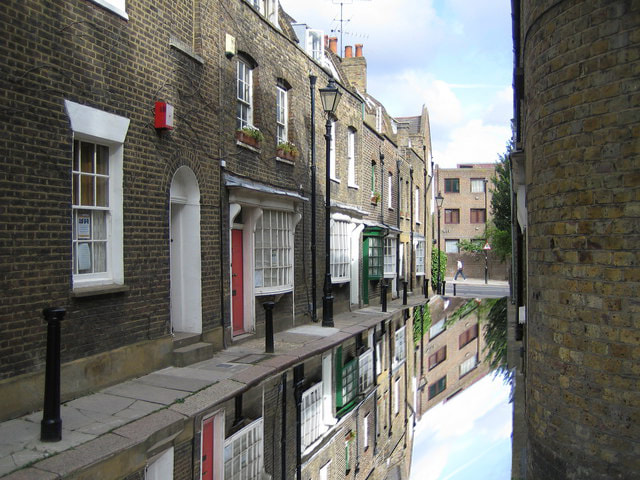
Before vs After
In this project I flipped the before image onto the bottom to create Erik Johannson like illustration.
In this project I flipped the before image onto the bottom to create Erik Johannson like illustration.

|

|
Before vs After
Using the burn tool along with the dodge tool and of corse, the trusty paintbrush tool to transform this wondefrul lady on the left
Using the burn tool along with the dodge tool and of corse, the trusty paintbrush tool to transform this wondefrul lady on the left

|

|
Before vs After
Wonderful apple desktop background made with elliptical marquee tool.
Wonderful apple desktop background made with elliptical marquee tool.
